How to install heat shrink terminal
Heat-shrinkable cable terminals are commonly known as heat-shrinkable cable heads, which are widely used in the terminals of cross-linked cables or oil-immersed cables with voltage levels of 35KV and below. Compared with traditional cable accessories, it has the characteristics of small size, light weight, safety and reliability, and convenient installation.
The heat-shrinkable cable accessories products ofSuzhou Jiuwei Electric Manufacturing Co., Ltd.; meet the GB11033 standard, the long-term use temperature range is -55 ° C ~ 105 ° C, the aging life is up to 20 years, the radial shrinkage rate is ≥ 50%, and the longitudinal shrinkage rate is <5%, the shrinkage temperature is 110℃~140℃. Small size, light weight and reliable performance are widely used in electric power, petrochemical, metallurgy, railway, port construction and other fields.
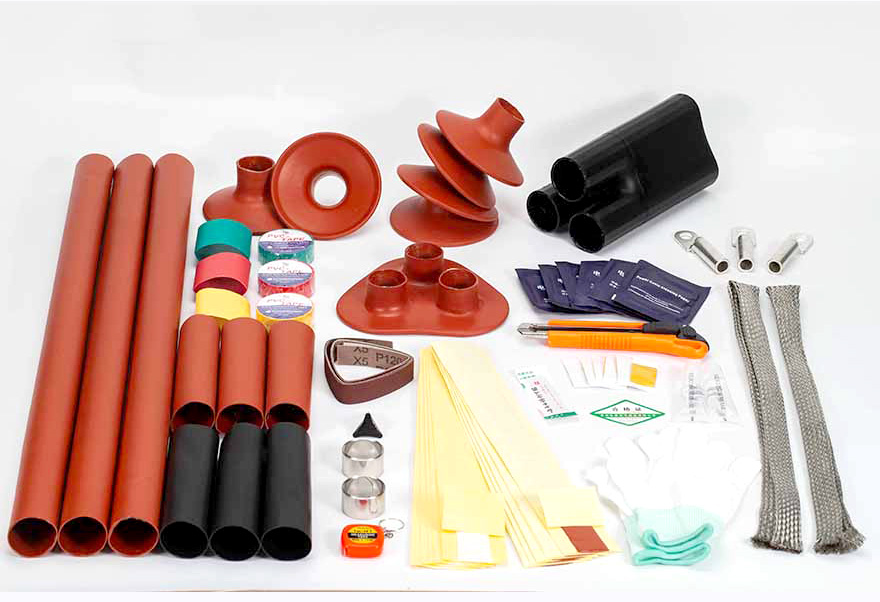
Since the cable accessories are manually installed on site, and affected by the construction environment and operating environment, breakdown and explosion accidents will inevitably occur due to installation errors, external force damage, and cable water ingress. Moreover, a large amount of energy will be released in the event of breakdown and explosion of the cable joint, which will cause harm to other surrounding power facilities or personnel, and even cause secondary accidents. In response to these problems,Jiuwei Electric; specially produced a detailed installation video about heat shrinkable cable terminals, hoping that this video can help more electricians and power practitioners to complete their work better
Next, I will explain to you how to install the cable heat shrinkable terminal head to ensure the most perfect connection of power (complete installation video is attached below)
1. Preparations before installation:
a: It should be noted that the installation site is free of dust and maintains a dry and ventilated environment.
b: Check whether the installation tools and terminal accessories are complete.
c: Check whether the cable accessories match the cable.
2. Stripping
a: Strip the outer sheath of the cable according to the length of the installation instructions
b: Leave 30mm steel armor at the bottom, and peel off the rest of the steel armor.
c: Leave 20mm inner sheath at the root, strip off the inner sheath of the remaining cables, and strip off the filler
d: The three phases are separated, and the copper shield of each phase cable end is wrapped with PVC tape.
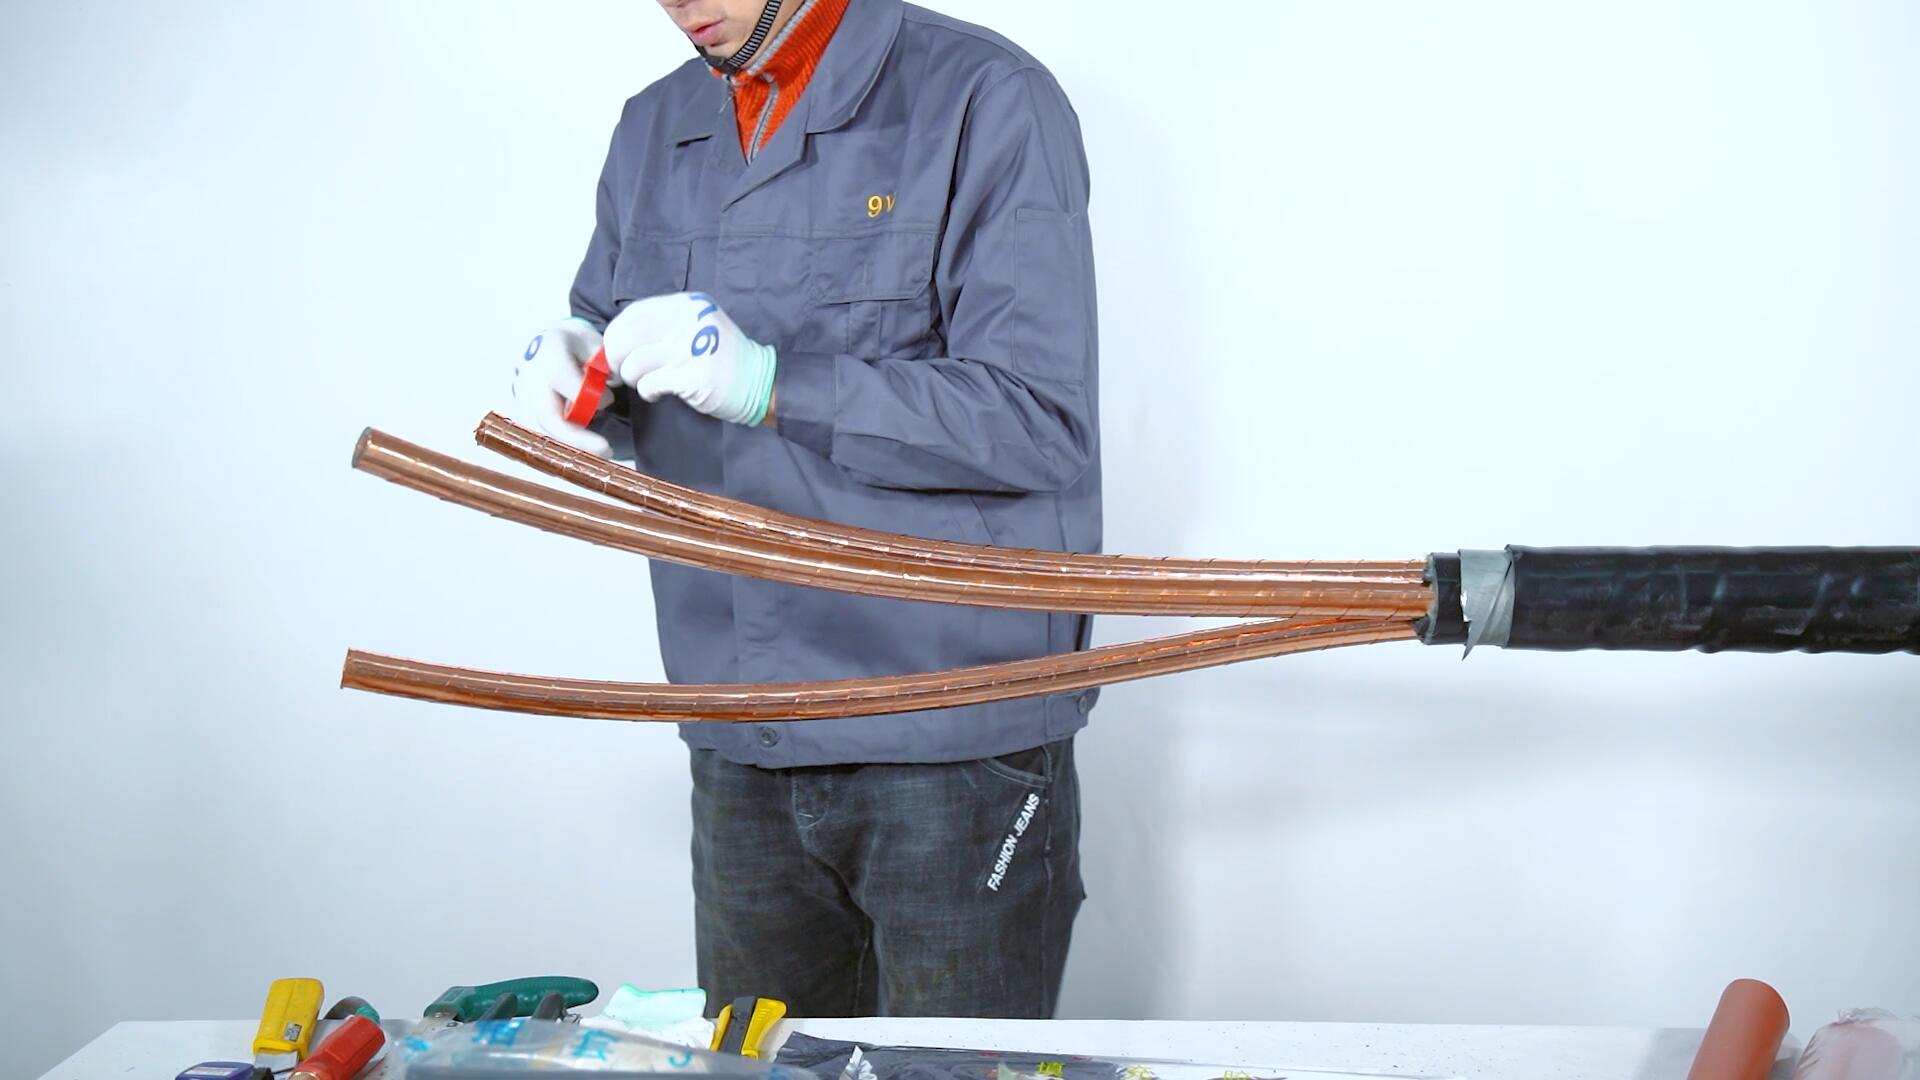
3. Grounding treatment
a: Wipe off the dirt on the surface of the 50mm peeling of the outer sheath of the cable.
b: Use coarse sandpaper to polish the oxide layer and paint on the surface of the steel armor. Fix the armored ground wire on the steel armor with a constant force spring.
c: Wrap the constant force spring and steel armor with PVC tape.
d: Use a triangular pad cone to embed the copper shielded grounding wire into the three-phase bifurcation of the cable, fix it on the copper shielding layer with a constant force spring, and wrap the constant force spring with PVC tape.
e: Fill the gap between the two constant force springs with filler glue and wrap the constant force spring. Lap the outer sheath
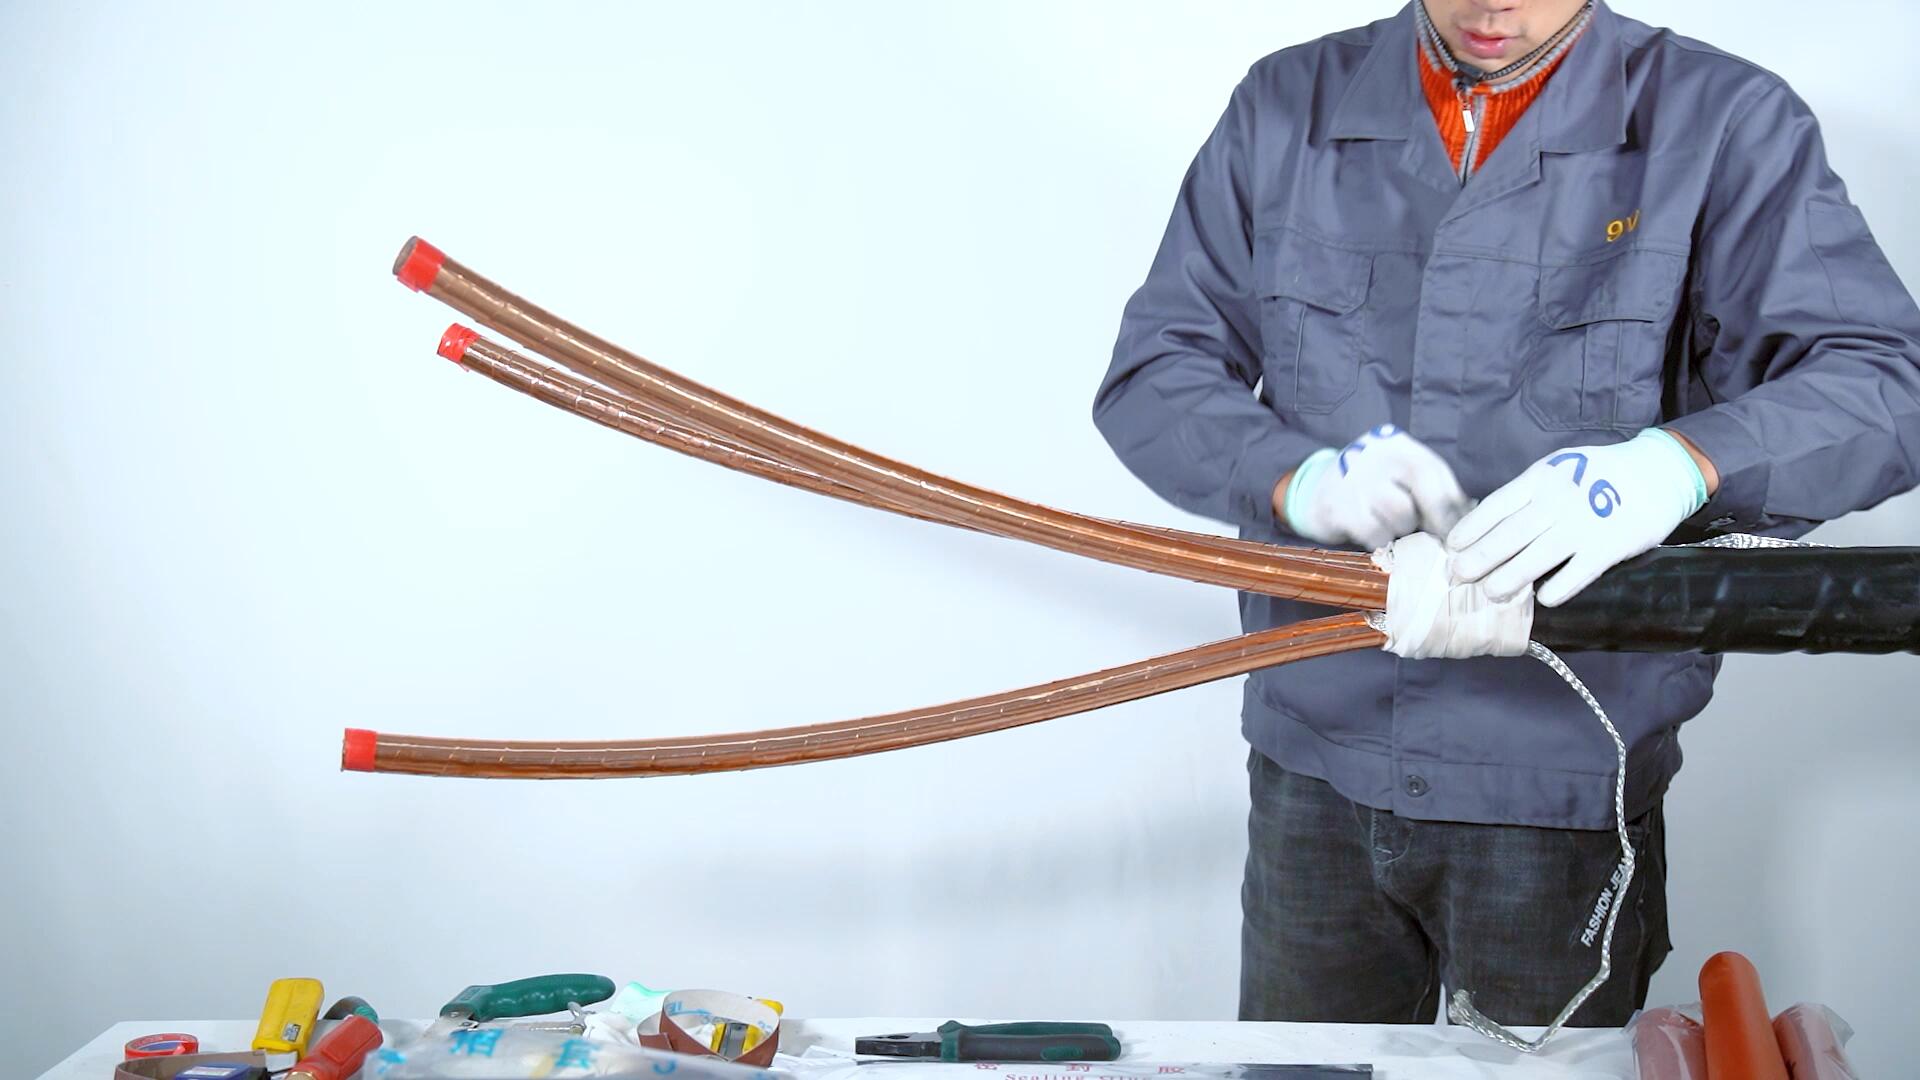
4. Install heat shrinkable sleeves and copper shielding, semi-conductive layer, main insulating layer treatment, and crimp terminals;
a: Put three heat-shrinkable sleeves into the root, heat and shrink
Keep 50mm copper shield upward for branch sleeve, and remove the rest; Phase identification by using PVC tape.
b: leave a 20mm semiconducting layer upwards, and cut off the rest;
c: Add +3mm to the top of the main insulation according to the depth of the terminal hole, and cut off the main insulation of each phase.
d: Insert the wiring terminal and press the terminal according to the national standard
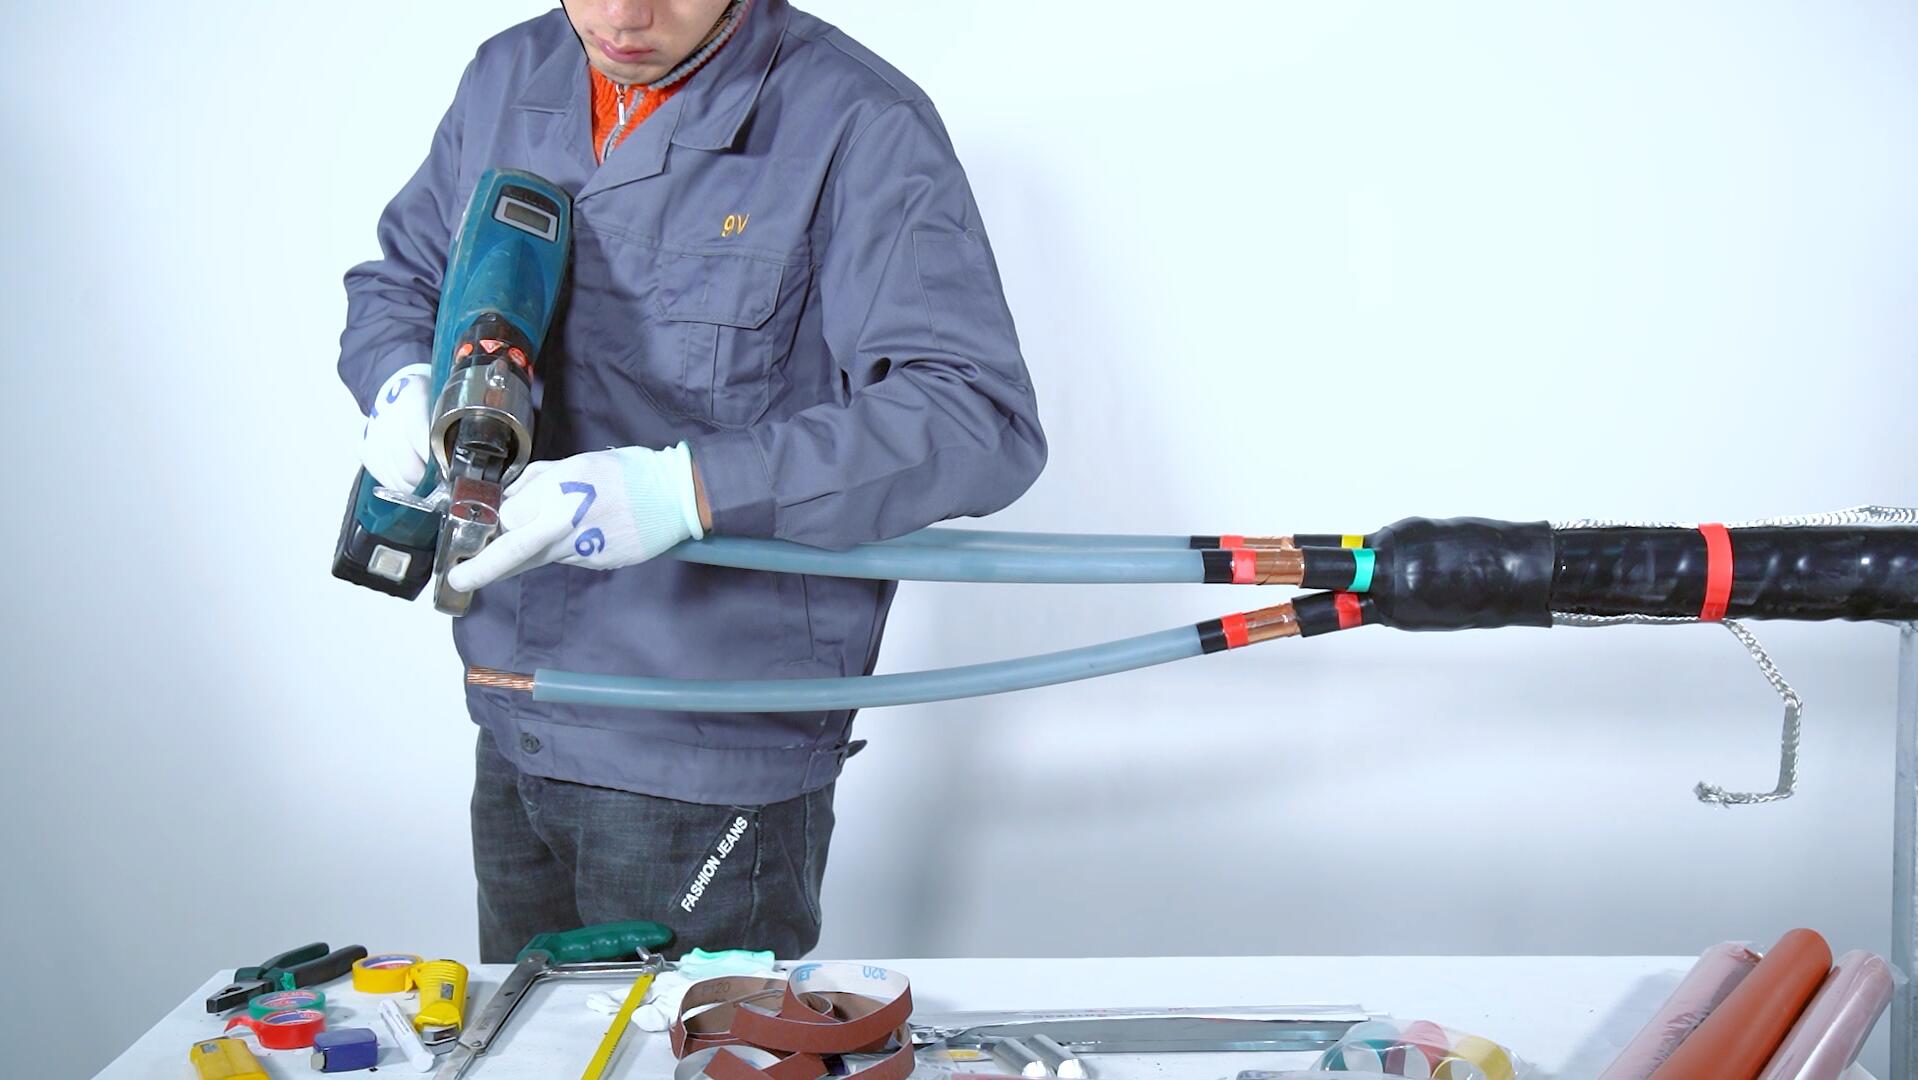
5. Install the heat shrink stress tube
a: Sand the surface of the insulating layer with fine sandpaper. (Be careful not to sand the semiconductive layer when sanding the insulating layer).
b: Use cleaning paper to clean the surface of the insulating layer towards the semi-conductive layer.
c: Stretch and wrap the stress relief adhesive at the junction of the semi-conductive layer and the main insulating layer, each overlapping 5-10mm
d: Apply silicone grease evenly on the surface of the insulating layer
e: Sleeve the stress tube to overlap the 20mm copper shield, heat and shrink.
f: Stretch and wrap the stress relief glue around the junction of the stress pipe and the main insulating layer, each overlapping 5-10mm
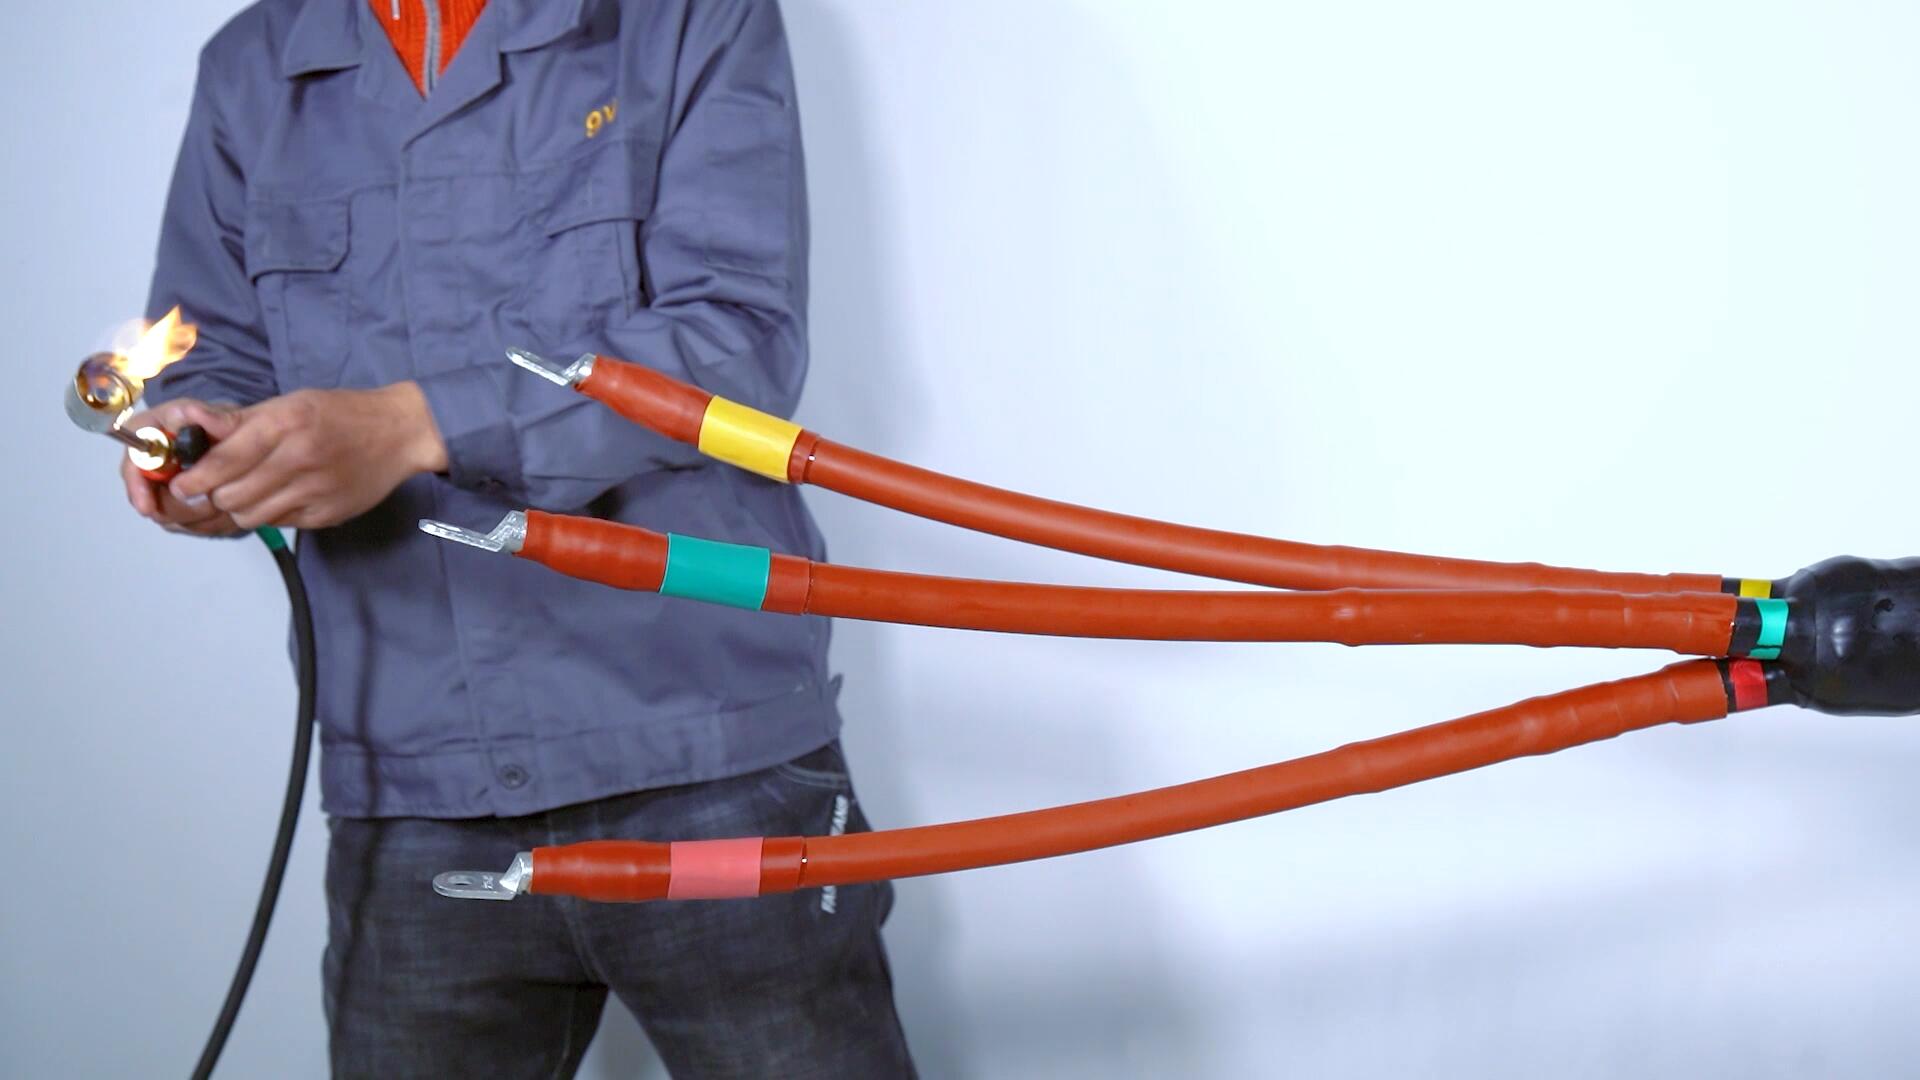
6. Install heat shrinkable insulating tube, heat shrinkable rain skirt, phase color tube, sealing tube
a. Wrap the sealant at the crimp of the terminal to fill the gap between the insulating layer and the terminal
b. Sleeve the insulating tube and the finger end of the support sleeve to overlap 20-30mm, and heat and shrink evenly from bottom to top
c. Sleeve into the phase color tube, seal the tube, and fix it by heat shrinkage.
d. Insert the three-hole rain skirt, heat and shrink, and then insert the single-hole rain skirt to heat and shrink, two per phase
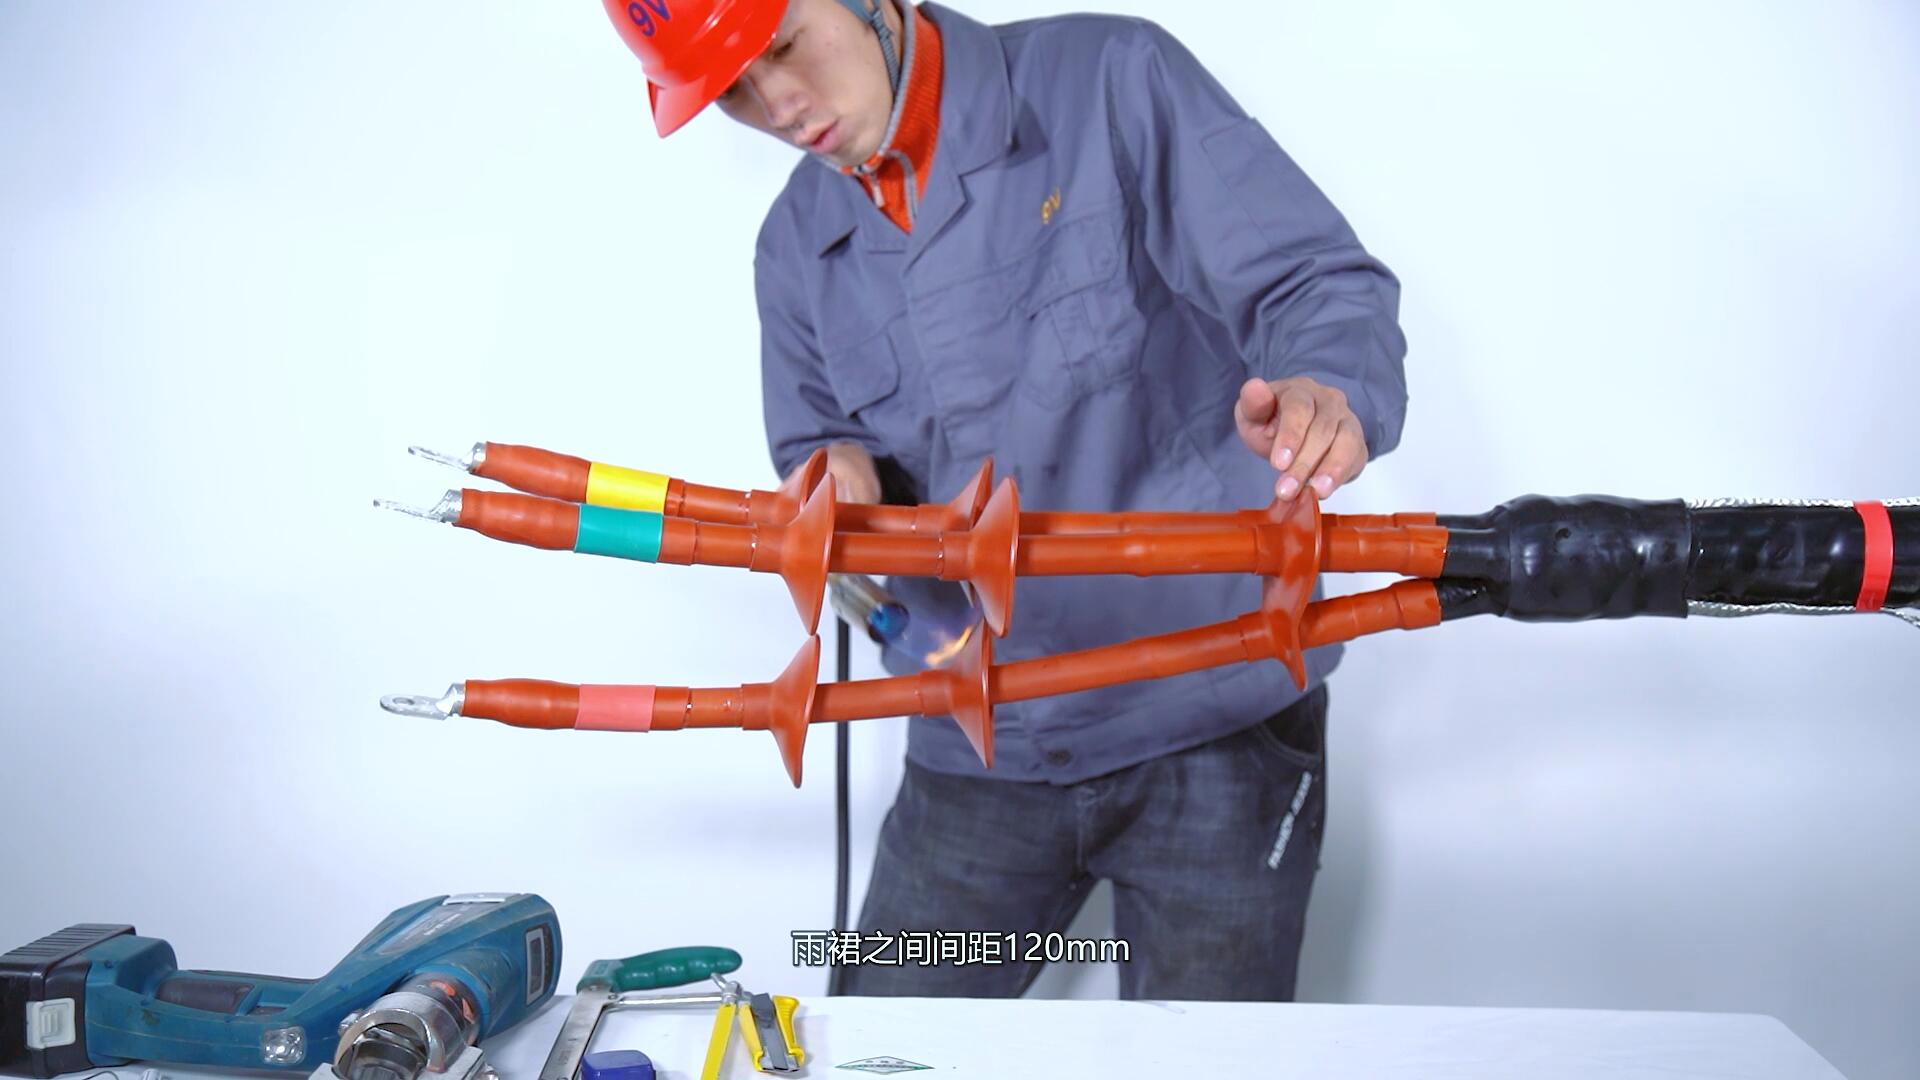
7. Installation finish, clean up the site.
Please watch the full video:
Hotline: +86 18001554818 / +86 18068406516


